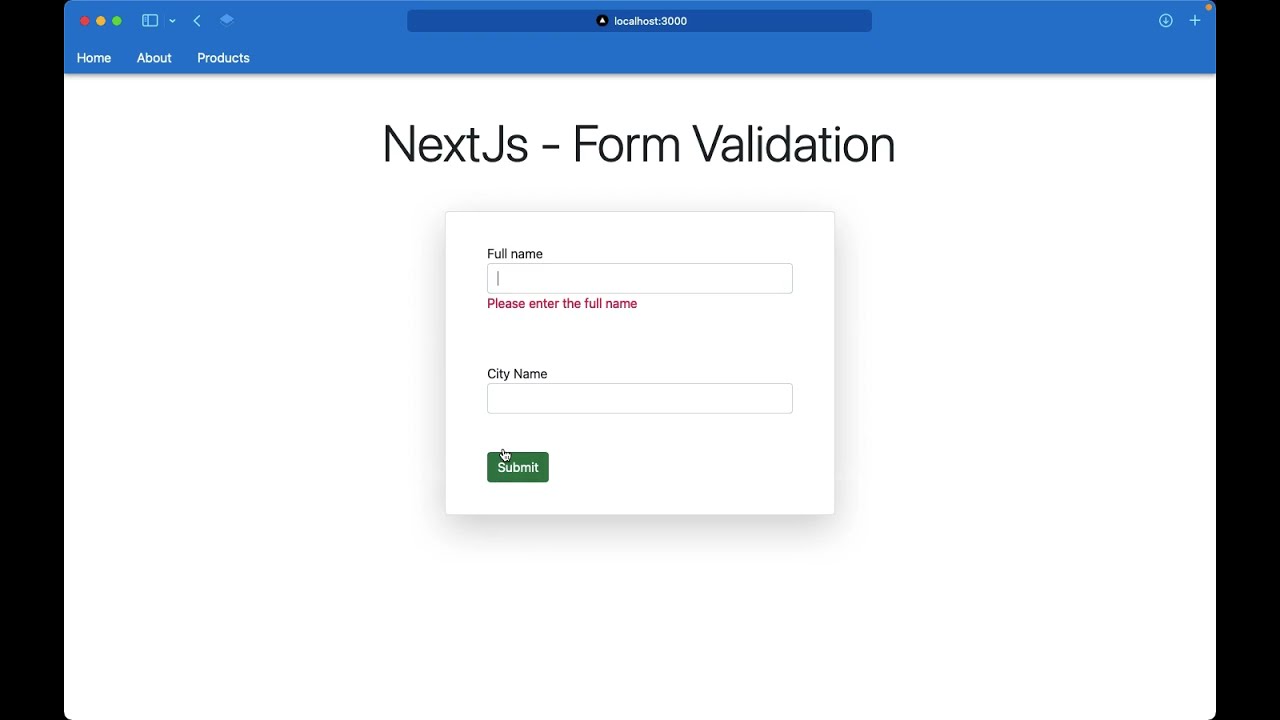
Introduction
Building contact forms in Next.js can be challenging. You need to handle client-side rendering, server-side validation, error handling, and email notifications. Contact the Lead simplifies this process by providing a REST API and pre-built components.
Prerequisites
Everything you should have before starting.
- Next.js 14+ with App Router
- React 18+
- TypeScript (optional but recommended)
- Contact the Lead account
Introduction
In this guide, we'll build a production-ready contact form for a Next.js application.
This layout is intentionally split into sections so you can design each one with more visual hierarchy and premium spacing.
Step 1: Create a Contact the Lead Project
Follow these steps in order.
- 1Go to https://contactthelead.com/admin/login
- 2Create a new project
- 3Get your PROJECT_ID and PUBLIC_KEY
Step 2: Set Up Environment Variables
bash
NEXT_PUBLIC_PROJECT_ID=your_project_id
NEXT_PUBLIC_PUBLIC_KEY=your_public_key
Step 3: Create the Form Component
typescript
'use client';

import { useState } from 'react';
import { Button } from '@/components/ui/button';

export function ContactForm() {
  const [loading, setLoading] = useState(false);
  const [error, setError] = useState('');
  const [success, setSuccess] = useState(false);

  const handleSubmit = async (e: React.FormEvent<HTMLFormElement>) => {
    e.preventDefault();
    setLoading(true);
    setError('');

    const formData = new FormData(e.currentTarget);
    const data = {
      name: formData.get('name'),
      email: formData.get('email'),
      message: formData.get('message'),
    };

    try {
      const response = await fetch(
        `https://api.contactthelead.com/api/contact`,
        {
          method: 'POST',
          headers: { 'Content-Type': 'application/json' },
          body: JSON.stringify({
            projectId: process.env.NEXT_PUBLIC_PROJECT_ID,
            apiKey: process.env.NEXT_PUBLIC_PUBLIC_KEY,
            responses: data,
          }),
        }
      );

      if (!response.ok) throw new Error('Submission failed');

      setSuccess(true);
      e.currentTarget.reset();
    } catch {
      setError('Failed to submit form. Please try again.');
    } finally {
      setLoading(false);
    }
  };

  return (
    <form onSubmit={handleSubmit} className="space-y-4">
      <input type="text" name="name" placeholder="Your Name" required className="w-full rounded-lg border border-white/10 bg-white/5 px-4 py-3 text-white placeholder:text-slate-500 outline-none backdrop-blur-sm focus:border-sky-400/50" />
      <input type="email" name="email" placeholder="your@email.com" required className="w-full rounded-lg border border-white/10 bg-white/5 px-4 py-3 text-white placeholder:text-slate-500 outline-none backdrop-blur-sm focus:border-sky-400/50" />
      <textarea name="message" placeholder="Your message..." rows={4} required className="w-full rounded-lg border border-white/10 bg-white/5 px-4 py-3 text-white placeholder:text-slate-500 outline-none backdrop-blur-sm focus:border-sky-400/50" />
      <Button type="submit" disabled={loading} variant="hero" size="lg" className="w-full">
        {loading ? 'Sending...' : 'Send Message'}
      </Button>
      {success && <p className="text-emerald-400">Message sent successfully!</p>}
      {error && <p className="text-red-400">{error}</p>}
    </form>
  );
}
Best Practices
A curated set of checkpoints for this section.
- •Validate on both client and server
- •Show clear error messages
- •Provide loading feedback
- •Keep API keys in environment variables
- •Use proper labels and ARIA attributes
Conclusion
Contact the Lead makes building secure, performant contact forms in Next.js simple and straightforward. You can now accept form submissions without managing backend infrastructure.
Ready to build contact forms?
Start with Contact the Lead free tier. No credit card required.
Get Started Free